


It’s a little harder to shop for Mother’s Day this year, so we’ve collected a bunch of great DIY Mother’s Day gift ideas for you! If you’re not into DIY ideas, give the gift of a weekend or week away! Either for Mom to getaway on her own, with friends or with the family!
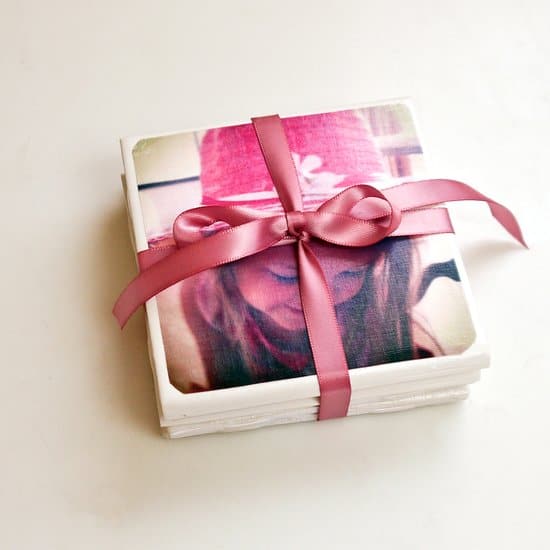
Add photos to coasters!
Materials
- Tiles – 4.5″ square
- Mod Podge Matte
- Mod Podge Hard Coat
- Photographs
- Cork
- Adhesive Spray
- Engine Enamel or Minwax Polycrylic
Tools
- Scissors
- Pen/Pencil
Instructions
- Choose the photos that you would like to use for your coasters and print them out to fit the tiles. Use a laserjet printer. Cut out photos using scissors.
- Paint a thin coat of Mod Podge onto a tile. Lay the photo onto the tile, centering it and smoothing out all of the air bubbles. Wipe away any Mod Podge that comes out the edges.
- Repeat with the other tiles and photos. Let dry at least 15 – 20 minutes.
- Spray the tops of the tiles with Engine Enamel or seal with Minwax Polycrylic; let dry.
- Trace each tile on a piece of cork. Cut out with scissors.
- Use adhesive spray to adhere the cork to the tiles.
- Place a book on top of the tiles to apply pressure and keep the cork sticking to the bottoms.
- Let dry 24 hours before using.
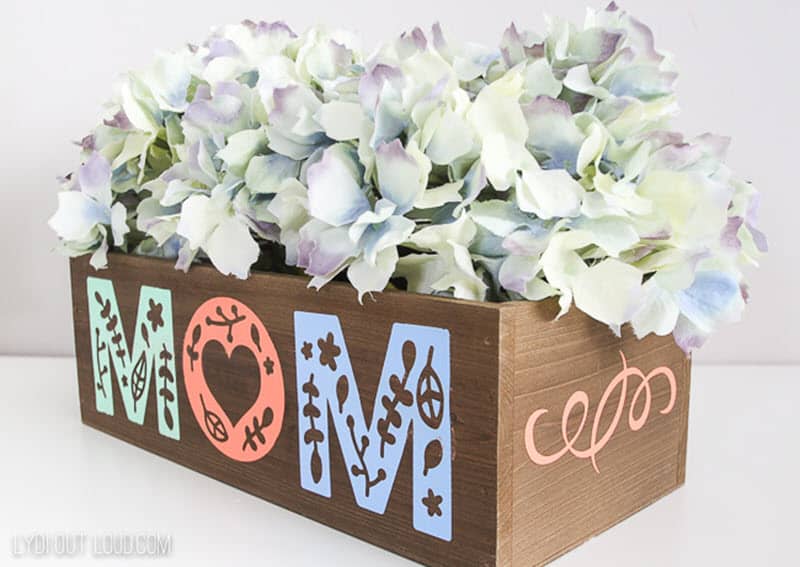
Have your kids decorate a planter box and either fill it with real or fake flowers for mom!
BONUS points if you add your moms favorite flower!

Make custom magnets
- 4 cups all purpose flour
- 1 cup salt
- 1.5 cups warm water
- Clear Glaze Finish or Mod Podge
Instructions
-
-
Preheat your oven to 250 degrees Fahrenheit.
-
Combine all of your ingredients and knead for 10 minutes. If your dough is too dry add a little bit more water in and continue to knead.
-
Roll out the dough to a thickness that you’d like your salt dough ornament to be.
-
Using a large cookie cutter, cut out different shapes for your salt dough ornament.
-
Have your child place their hand into the salt dough ornament. If the dough is too hard to get an imprint it may be too dry and you can continue to knead by adding in a little bit more water.
-
Using a straw, make a hole in the top for where you want to hang your salt dough ornament.
-
-
Bake for 1-2 hours. If your ornaments are still doughy, put back in for another hour. (It will depend on your thickness how long you need to bake for. The thinner ornaments will take less time but thicker may take more).
-
If you encounter too much puffing, roll out thinner ornaments and this will help reduce the puffing. If the ornament is still a bit doughy, bake for longer or let sit out a few days to harden before decorating. The thickness of the dough will determine how long you have to bake them for. You can also raise the temperature up to 325 degrees Fahrenheit but do this gradually as they may start to puff up. We prefer to bake them at 250 degrees Fahreneheit for longer and let them air dry for a few days.
-
Once cool, you can decorate by painting with acrylic or kids paint.
-
To make the hand glittery, fill the handprint with glue then sprinkle glitter on top of the glue, shake off the excess and let it dry.
-
Spray with a clear glaze finish or finish with mod podge.
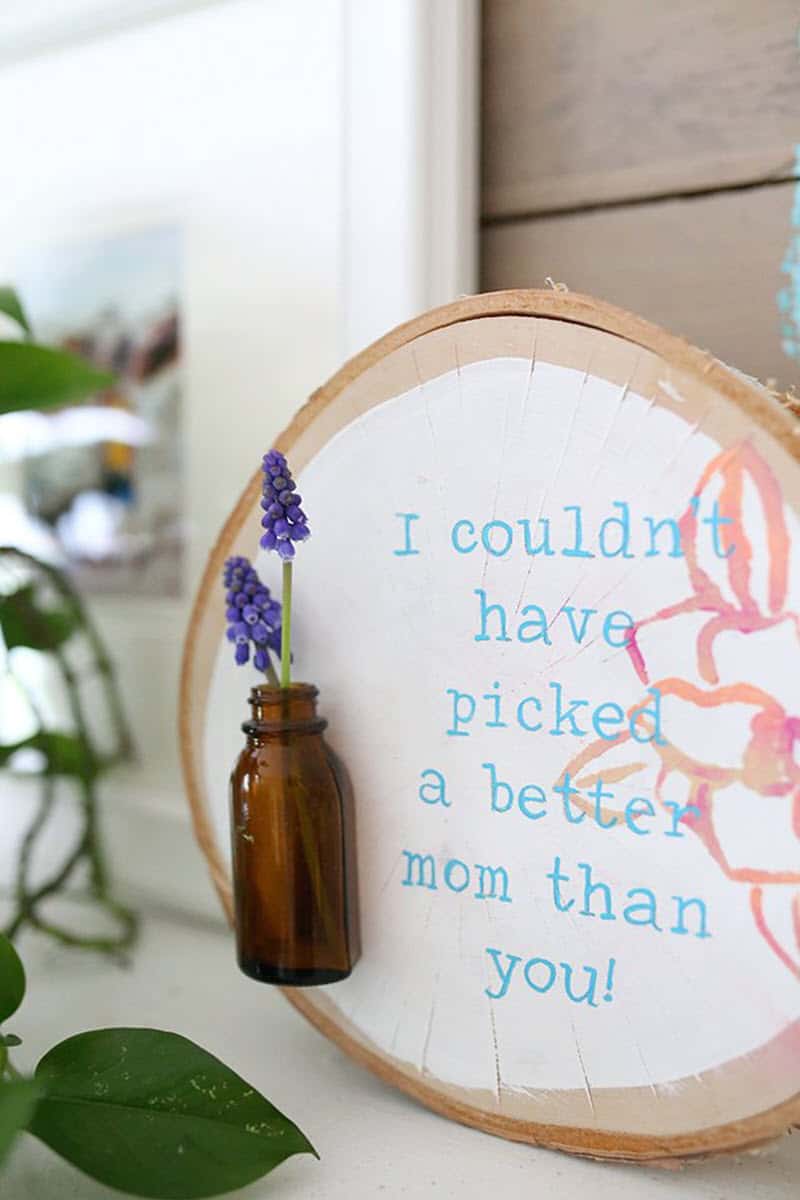
Make a custom flower vase- you can attach it to a piece of wood like this or you can just paint a bottle for flowers!
(a wine, water or beer bottle could even be painted to make a pretty vase!)
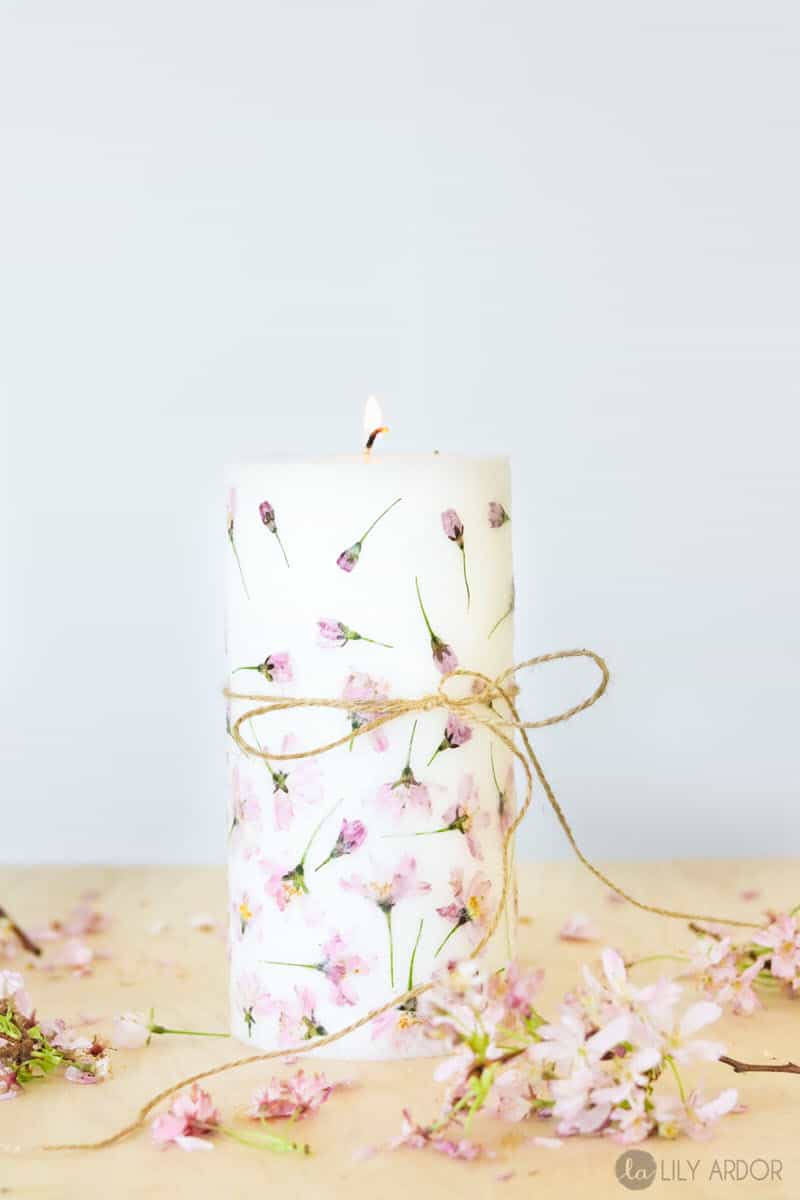
Make custom candles with her favorite essential oils or flowers!
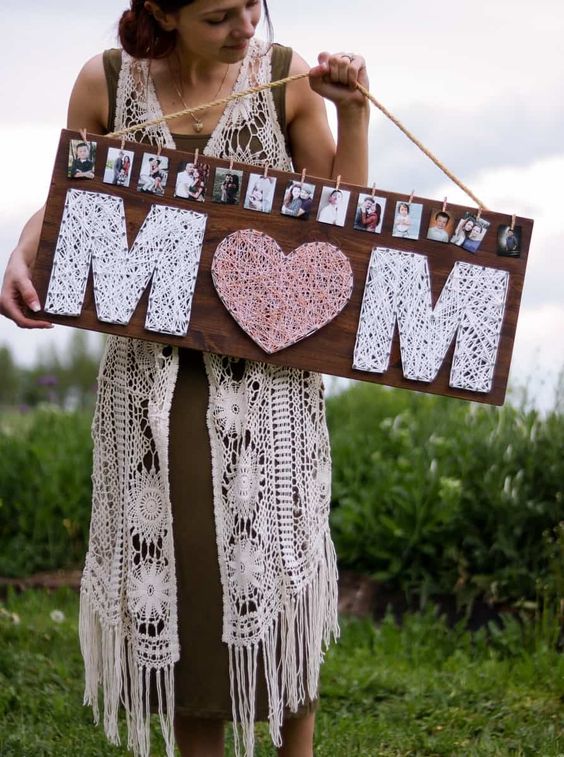
Attach photos from a few of your favorite memories with Mom to a pretty frame!
You can use a large piece of wood, drift wood, an old window pane, a pretty mirror or even make a collage on a large piece of cardboard!
Whatever you choose, she will LOVE going through old photos!